

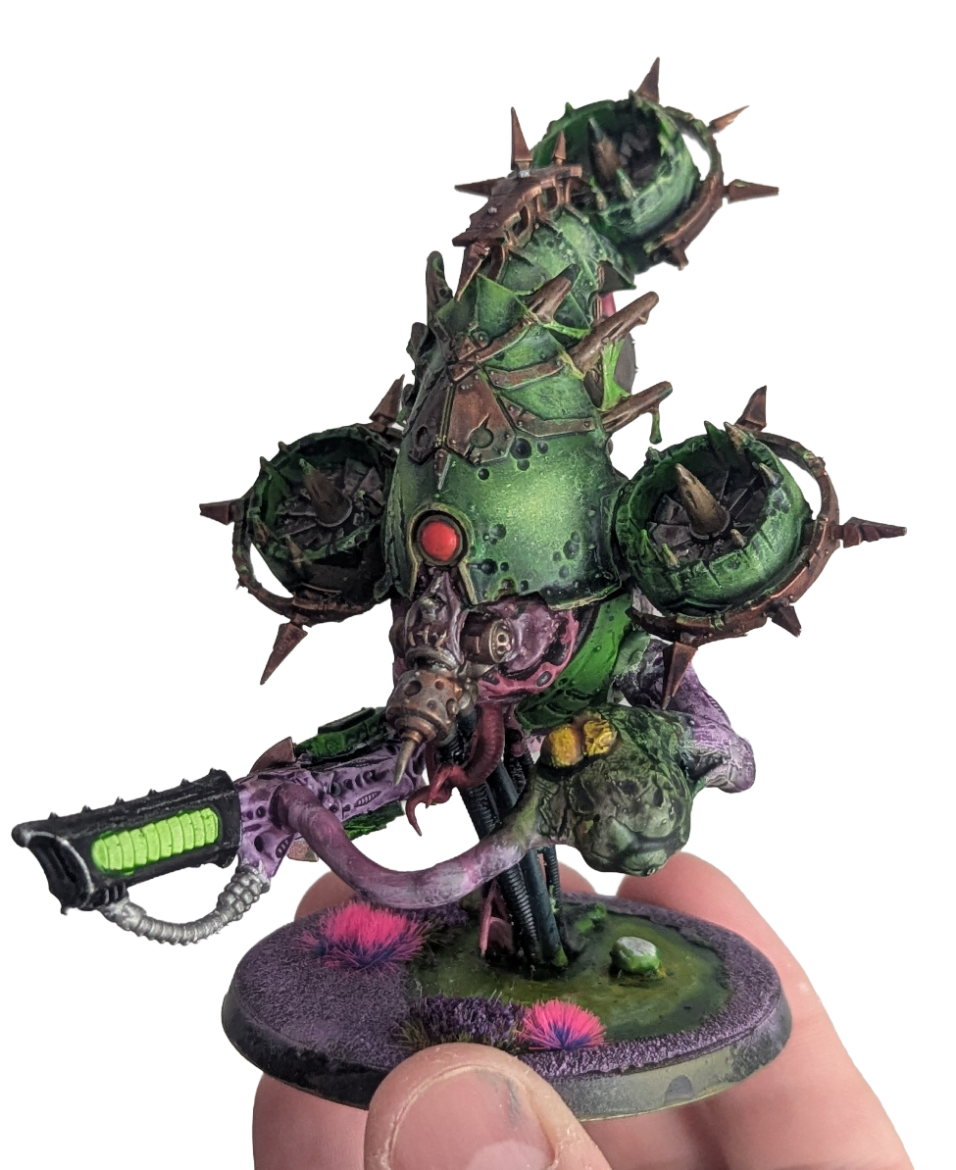
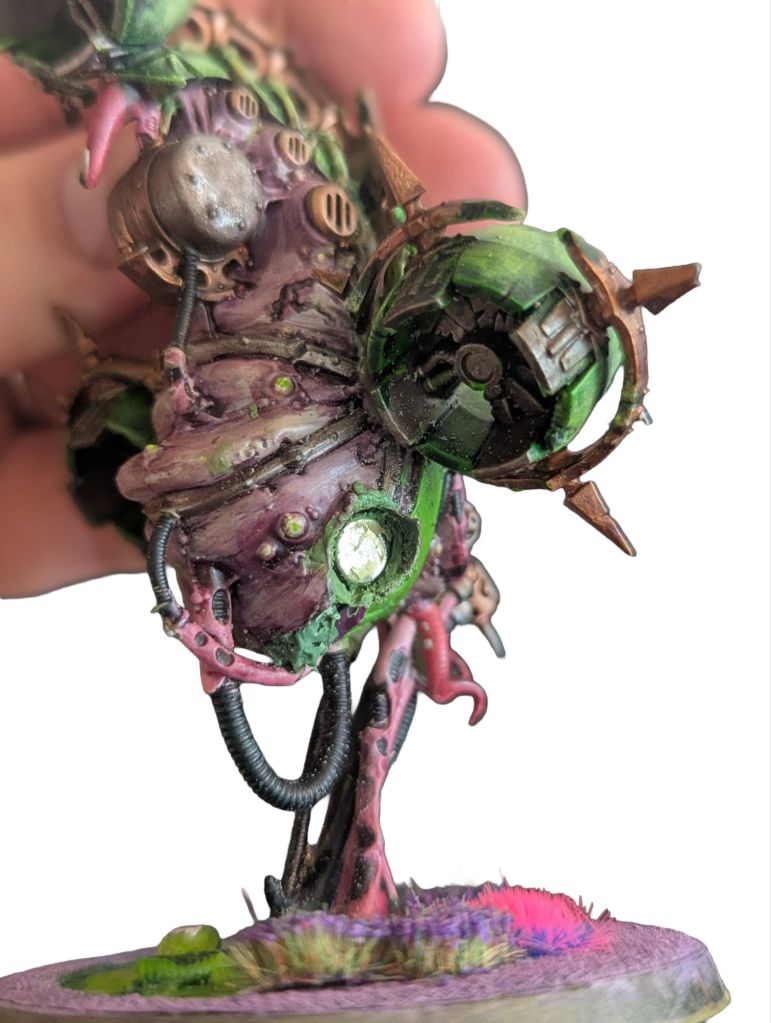
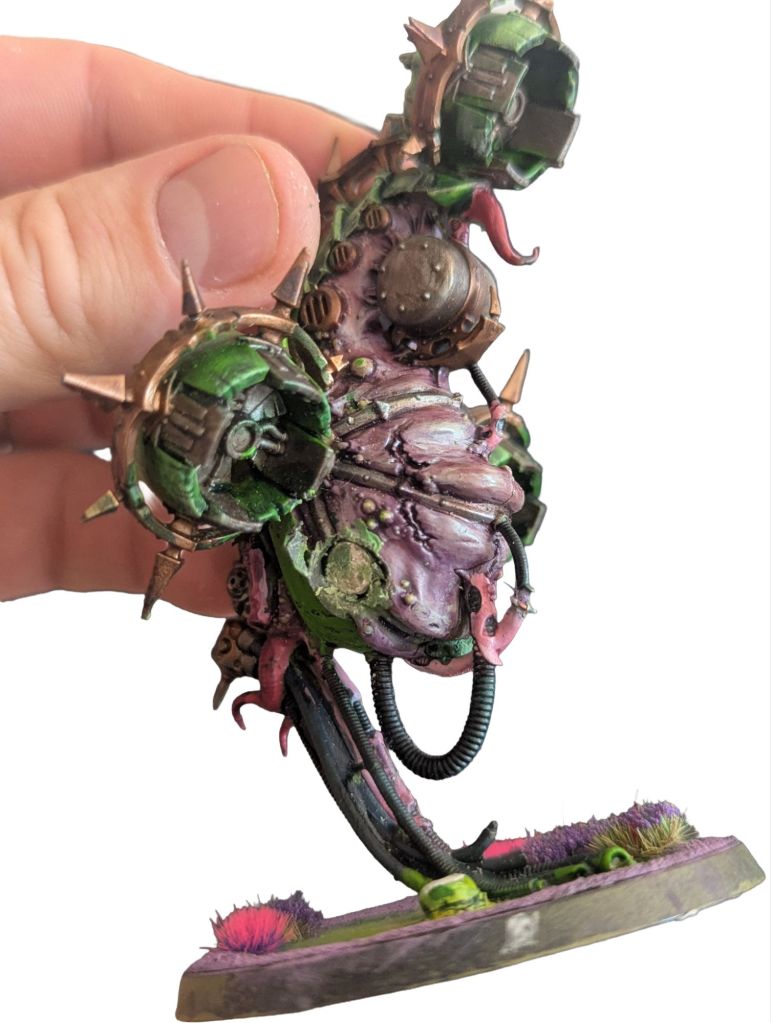
Everyone’s favourite fleshy floating abomination…I always loved the The Foetid Bloat Drone and I had 2 of the plague spitter variants from the dark imperium box set released in 8th edition.
I could never quite justify buying additional models partly because of space but also because the HBL was never amazing until the 10th edition codex dropped! (I also managed to kitbash a fleshmower…check out the guide).
Instead of buying additional models I decided to kitbash some more load out options using the base spitter models. Full disclosure I first saw this idea on the Death Guard Facebook group so It isn’t an original idea for me, but I had to give it a go. Not sure if the guy wants to be named directly but if you search Tyranid on the group it will come up so full credit to him.
The secret here is a combination of magnets, green stuff, some Tyranid parts and some leftover Hauler armour from my defiler project which I think turned out great.
The benefit here is you can swap or mix the launchers, mowers and spitters depending what you are up against and the detachment perks.
What you need:
- Bloat Drone model. Mine had the spitters already snapped off…
- Decent snippers, I use the army painter ones
- Green stuff
- Magnets x 4 – these are 6mm x 2mm
- Blight hauler or death guard vehicle bits
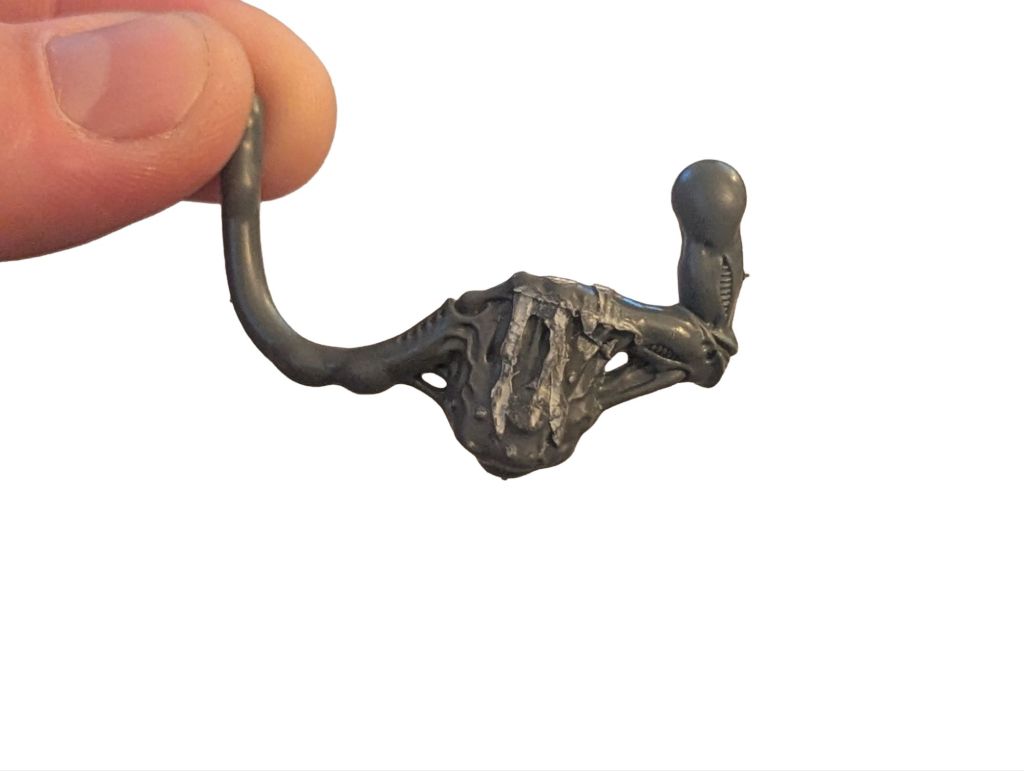
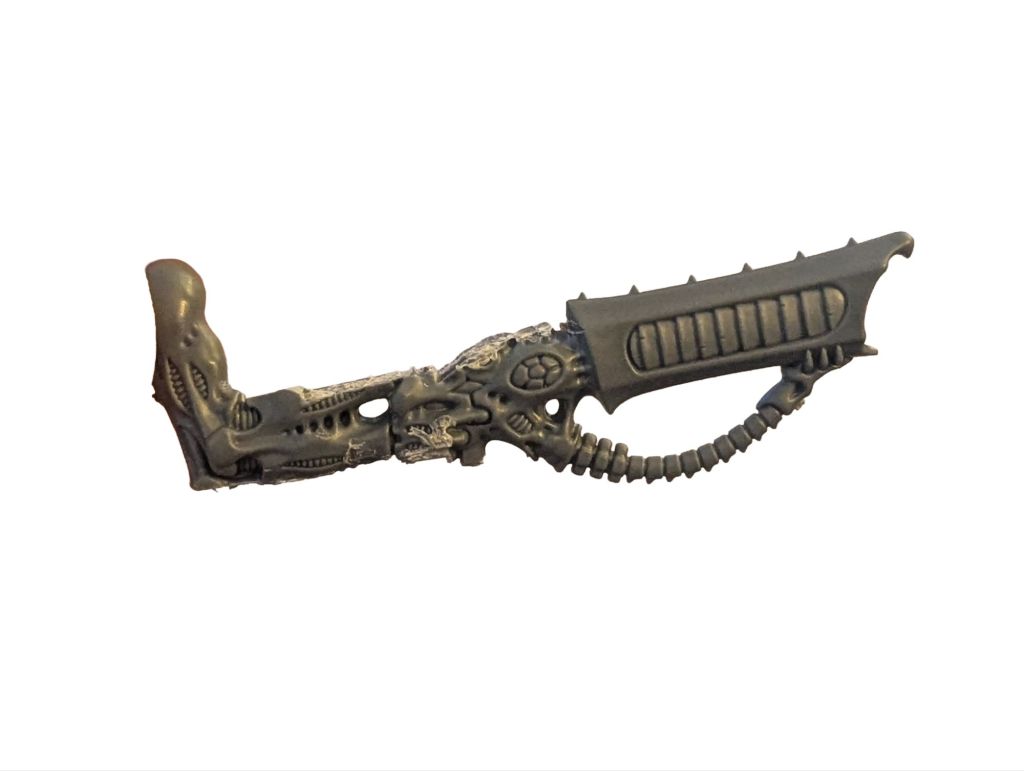
- Tyranid stranglethorn cannon
- Glue
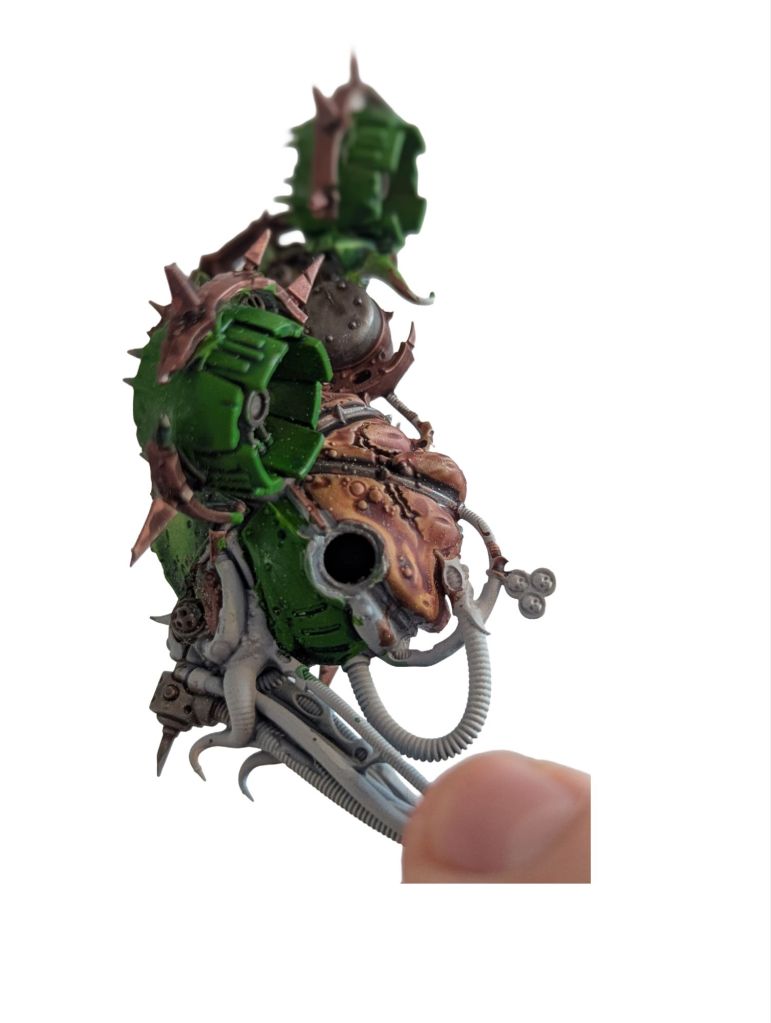
Step 1 – Making holes…
First up the scary part. I used an electric dremel, to roughly pop a hole open on each side the size of my selected magnets. If you had a thinner magnet I guess you wouldn’t need to go all the way through.
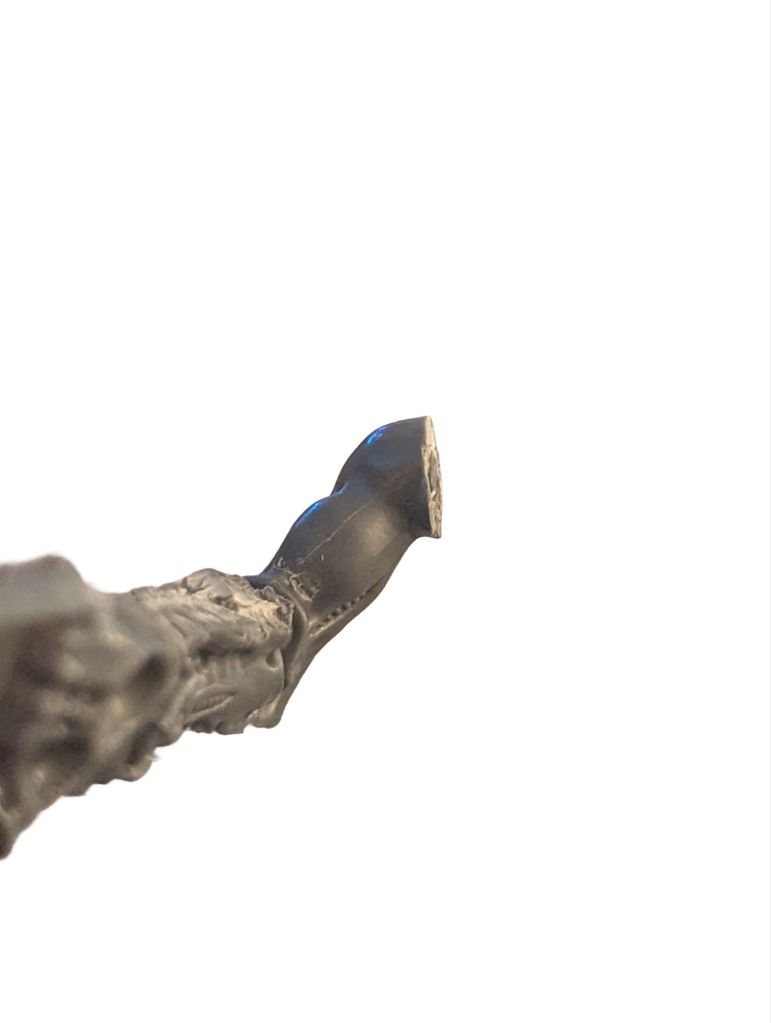
Step 2 – Trimming some angles
Take some snippers and take an educated guess on the angle you need to chop off. This is needed for the magnet stage later, there’s some margin of error that’s fine but be careful.
Step 3 – Filling body with green stuff
There’s probably a better way…but I didn’t have time to figure it out…
Mix up a big blob of green stuff and roll it in your hands into a noodle. Start pushing it into the holes you drilled and mash it downwards until you have a pretty sturdy blob inside. You might need to use a poky tool to get it in properly.
Step 4 – Adding magnets into the body
Take two magnets, at this point it’s also a good idea to work out the polarity before you stick anything down. Green stuff takes a while to dry and if you are like me and have no patience you end up pulling them out by accident…
Push the magnet into the holes at a slight angle so it’s mostly flush with the plastic.
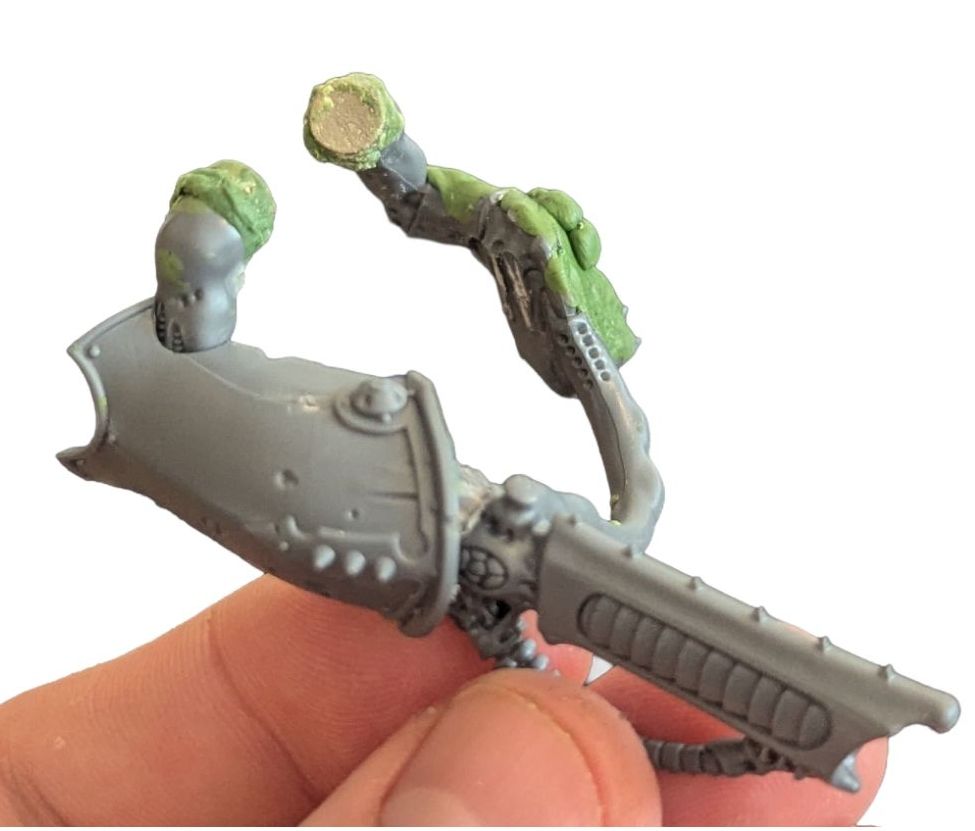
Step 5 – Modifying the weapons and adding magnets
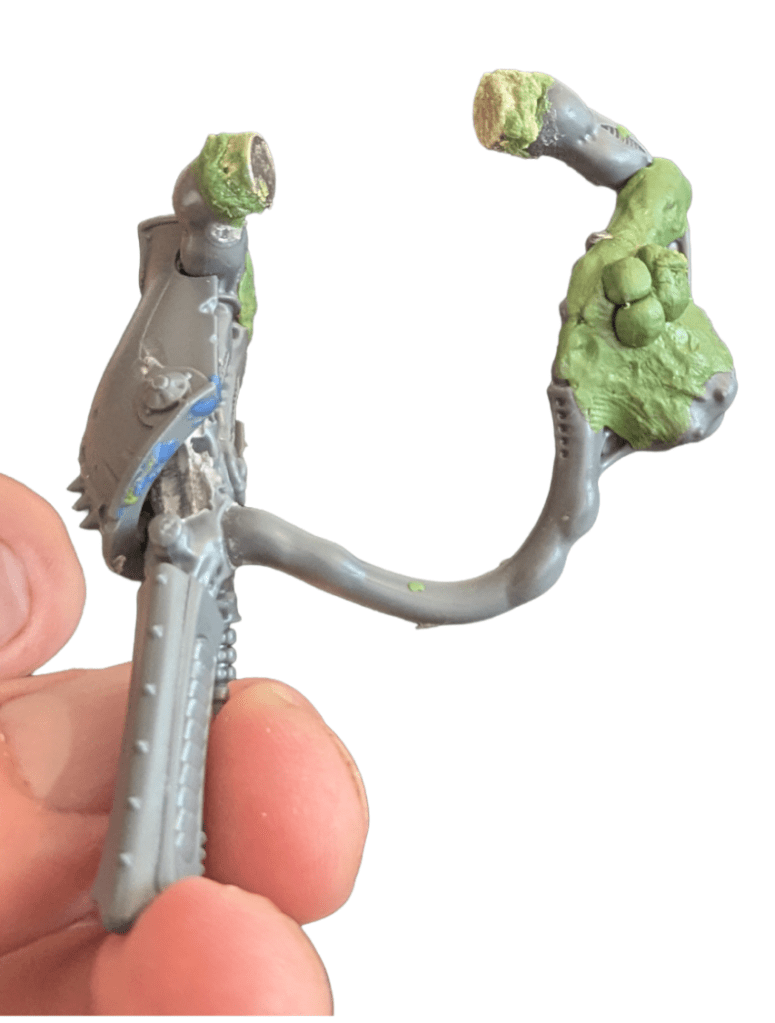
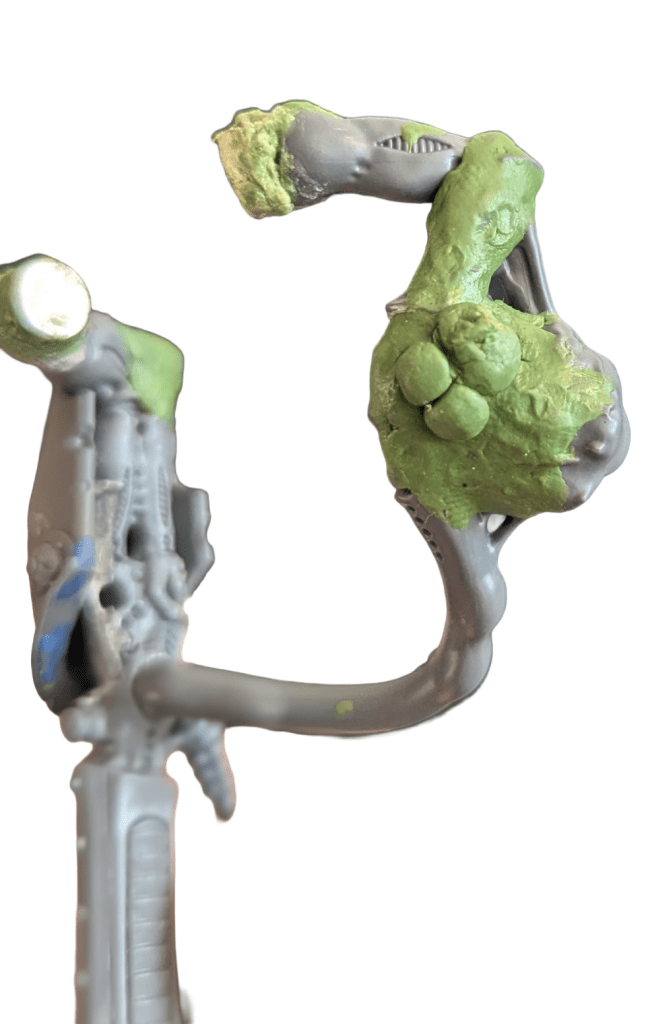
I actually stuck the magnets on first using some green stuff and glue, I later filed the edges down. My example is super messy but it works great anyway. Use the green stuff to build up the angle if you over chopped earlier.
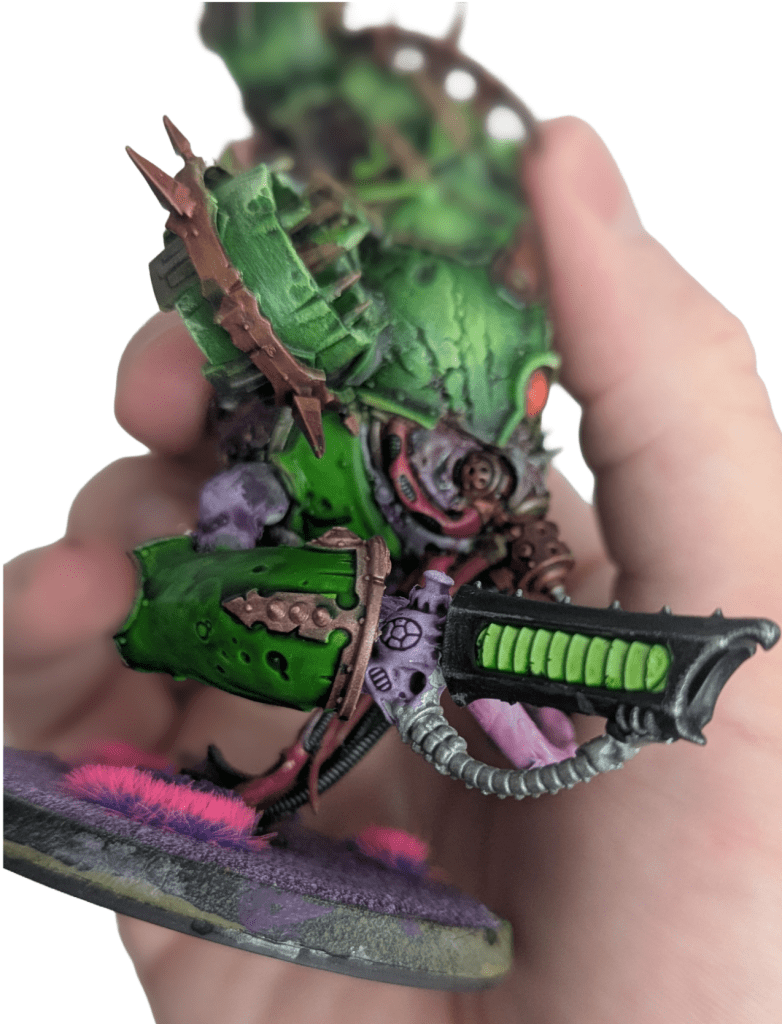
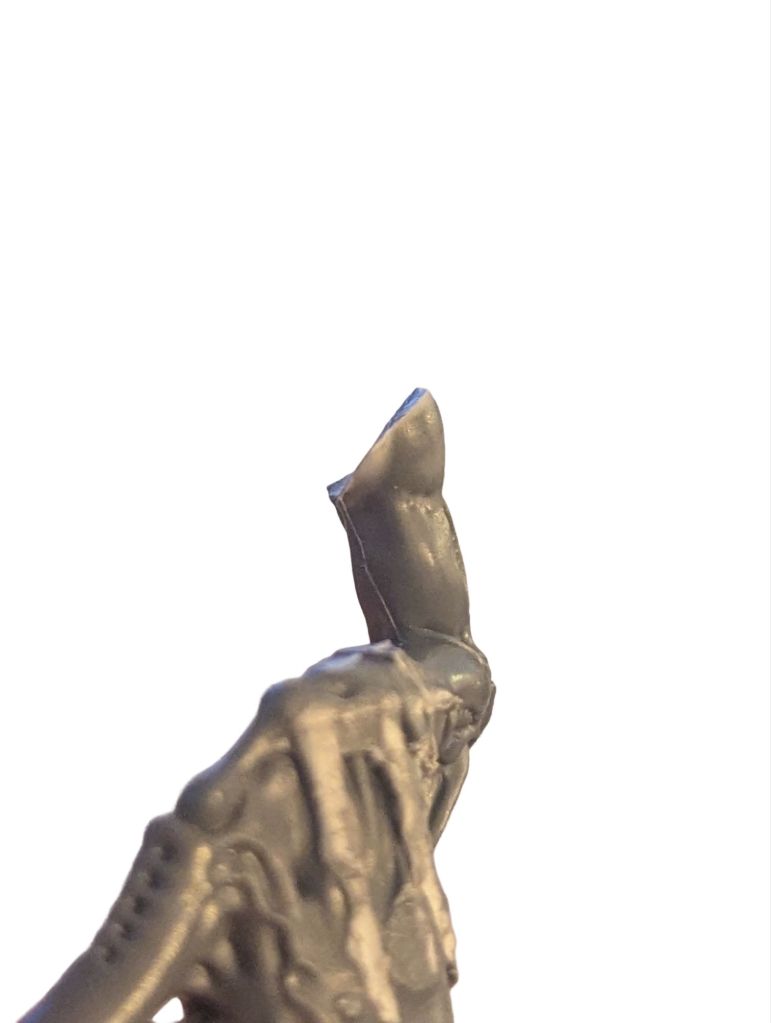
The gun and sack looks super obvious that they are from the Tyranid range. I decided to do two things.
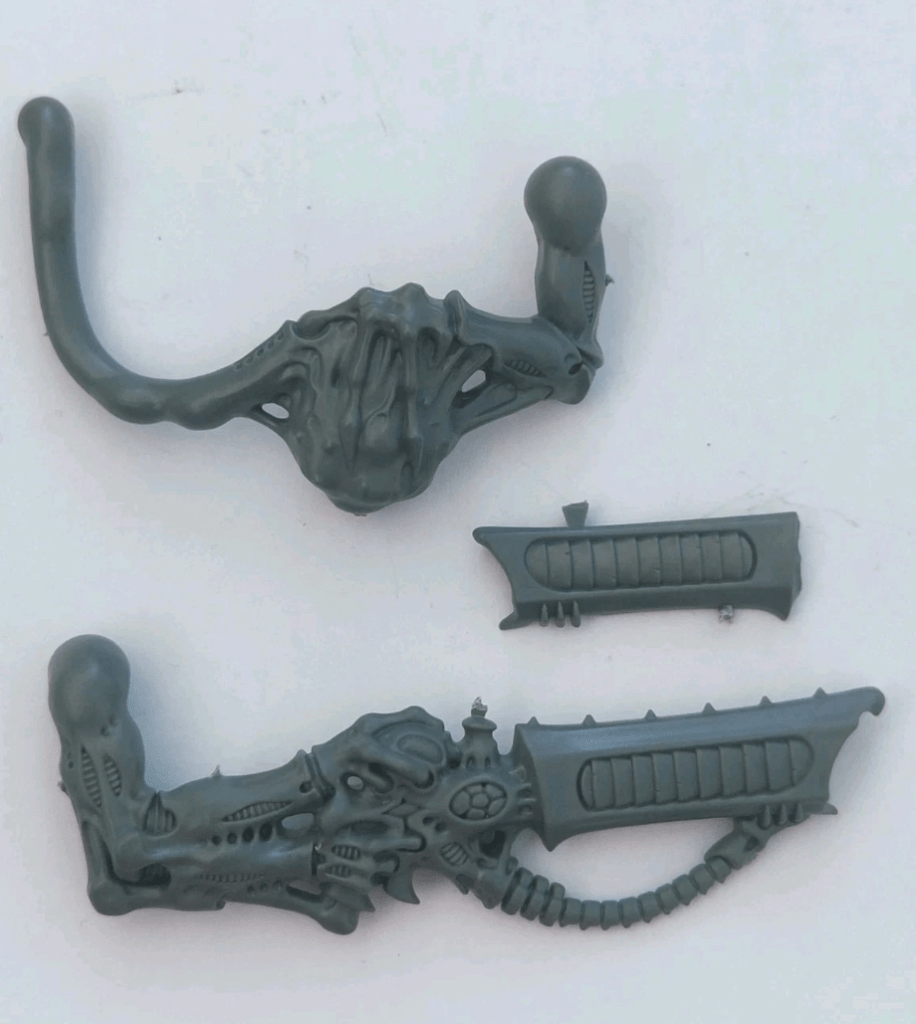
Firstly I looked at leftovers from my defiler kitbash. I had two blight hauler panels left that fit really well around the bicep section if the arm. This ties it into the theme really well I think.
The second stage was to take the snippers and chop back the details on the sack. Cuts look rough and ready but most will be covered by armour or green stuff. Chop and adjust as needed.
Next I added some green stuff to make boils etc. and position the magnets which I didn’t quite get right. This could be done way better but was good enough for me as needed them ready for a list
Summary
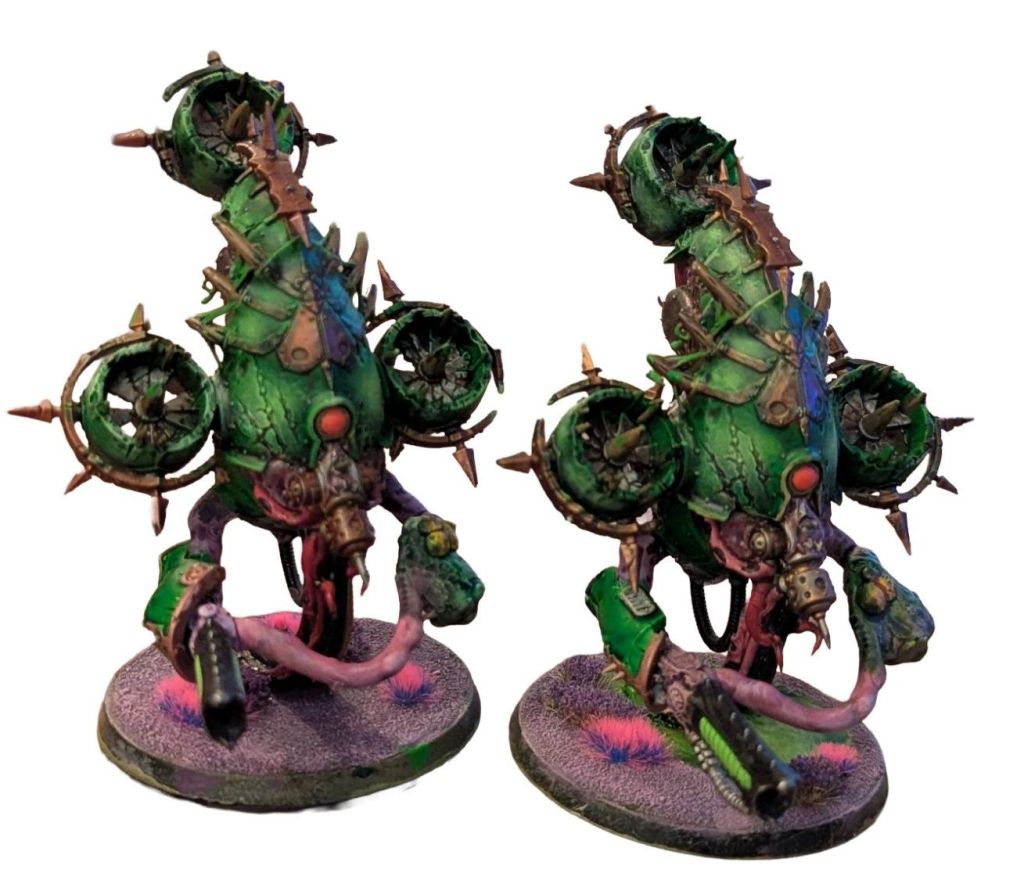
I think this worked great, for me the armour panels are a really easy way to death guard up the kitbash.
I base coated with wraithbone and got on with some quick washes and base coating.
Looking forward to using the 3 I have built as part of Mortarion’s hammer detachment.
I hope this was useful, stay tuned for the fleshmower guide!

Leave a comment