
This is my second defiler kitbash (but my favourite)…
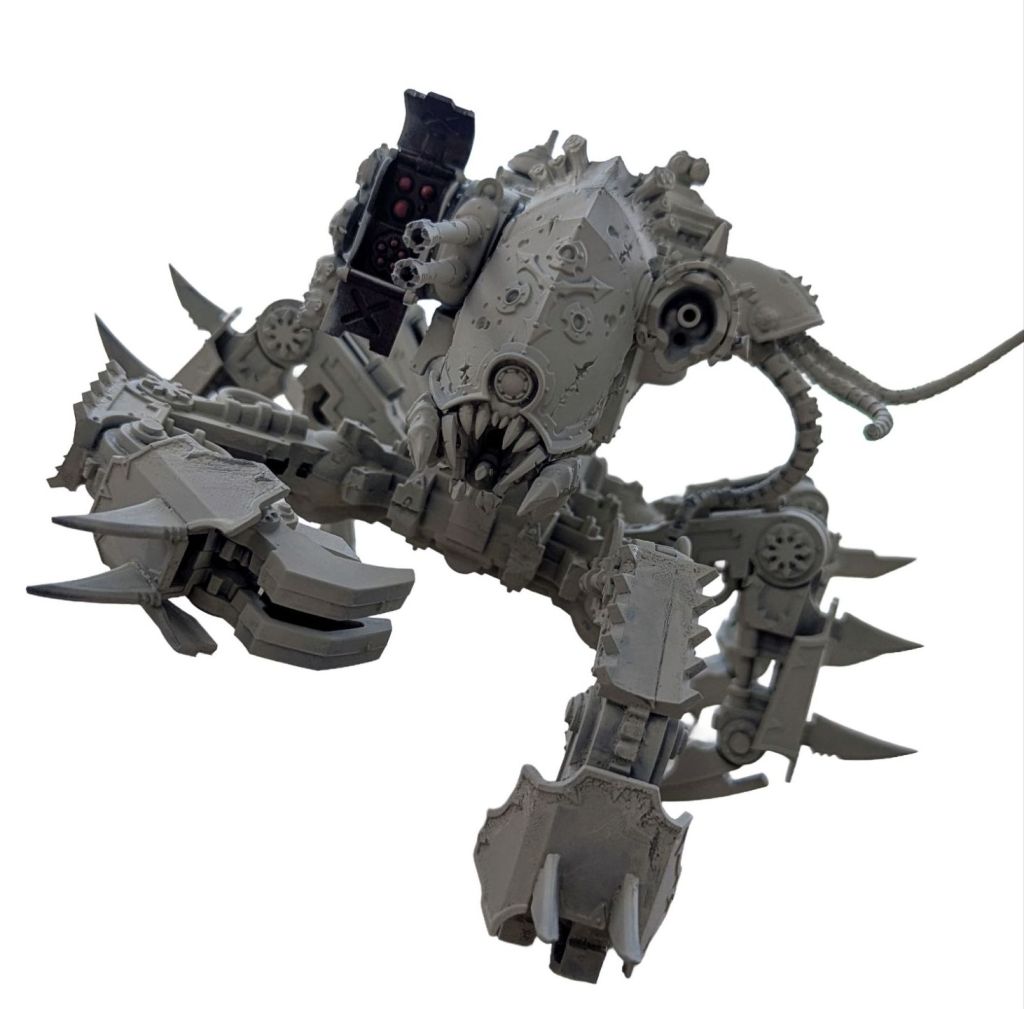
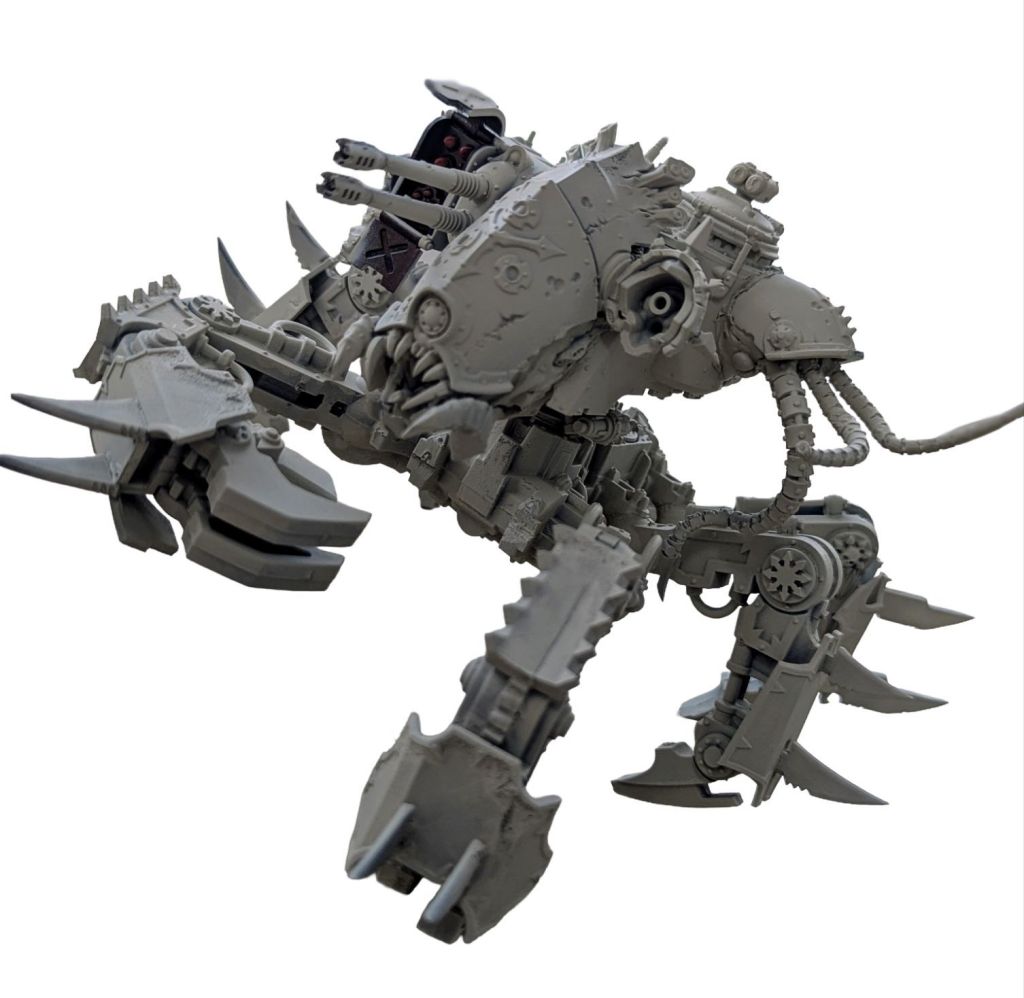
After mashing together the first abomination I used him in the Mortarion’s Hammer detachment and he was fantastic. At the same time I purchased my first defiler box, I also purchased a Soul Grinder box which is heavily based on the same parts. The main difference is there is no tank hull on the soul grinder, you get a daemon body instead.
After the success of Defiler 1.0 I decided to go ahead and look at kitbashing a flexible Defiler and Soul Grinder build. The aim was to focus on the Defiler, but also make sure I could still use the Soul Grinder Option, if I ever chose to run Nurgle Daemons from the updated index.
This build came out really well and I am actually impressed at how it came together. After discussing with Thebigmekworkshop at length on Ebay, I ended up combining two ideas.
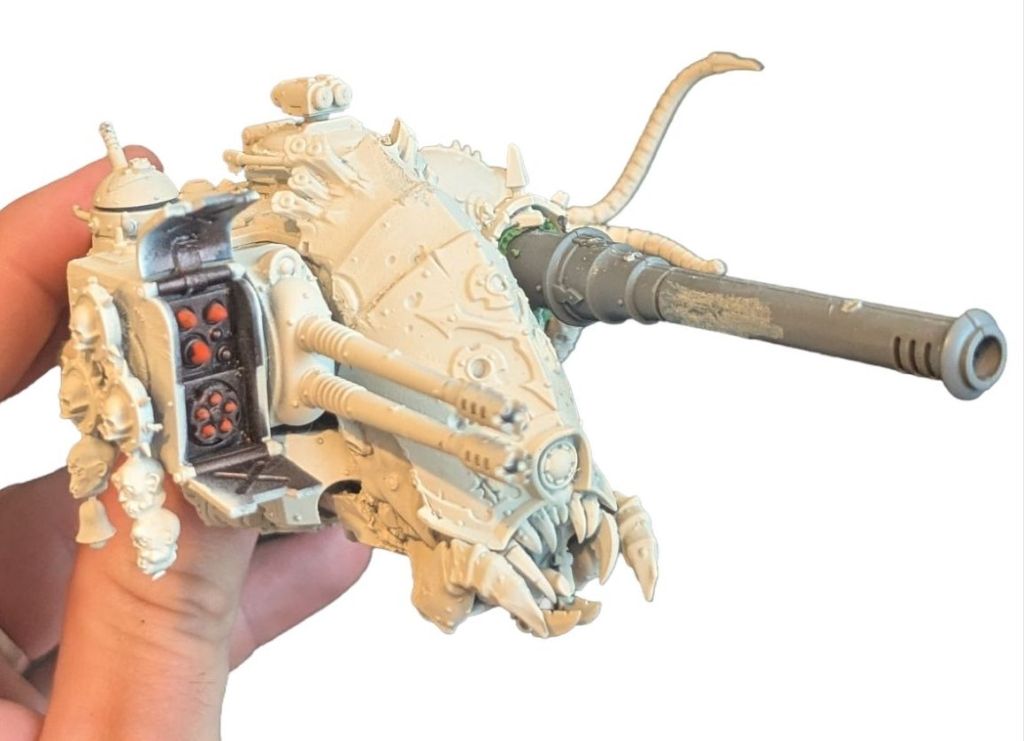
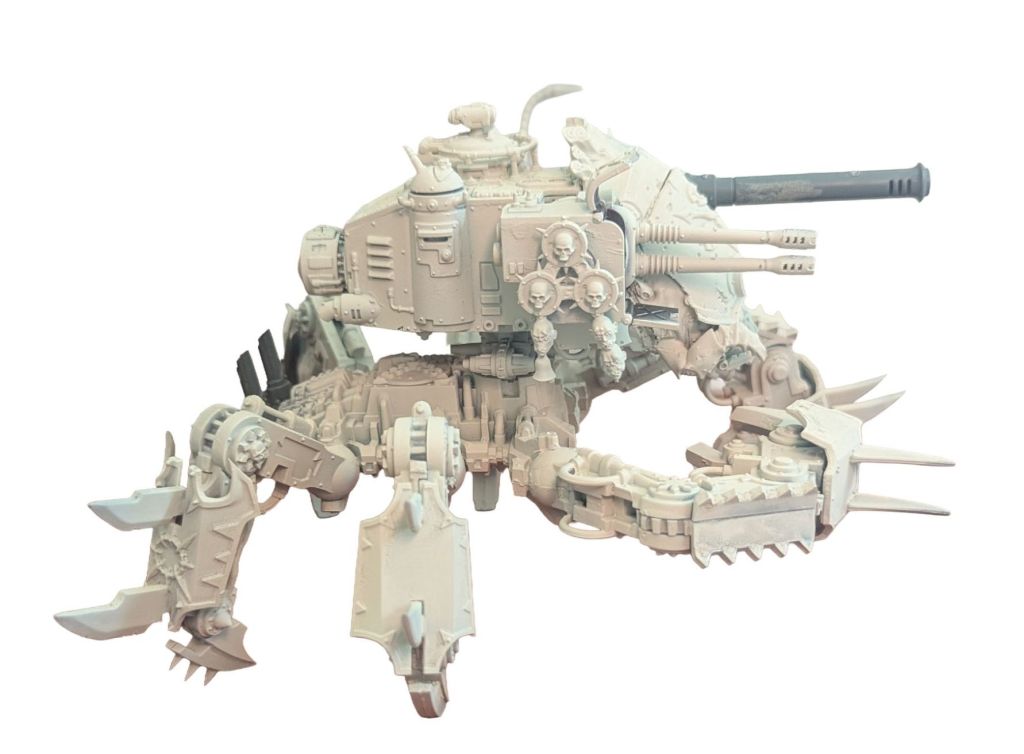
At first I had planned on buying a Blight Hauler, removing the legs and adding it on top of the spider legs. In the end I actually combined this idea with a Mechanicus Dunecrawler hull to make a cool looking mega crab. In the end I essentially cut the face off the hauler and attached it to the Dunecrawler hull.
Using a Dunecrawler was actually super practical and I picked up a used one off Ebay for about £20. It has a missile launcher built in that can be closed if I decide to run alternative loadouts alongside autocannons.
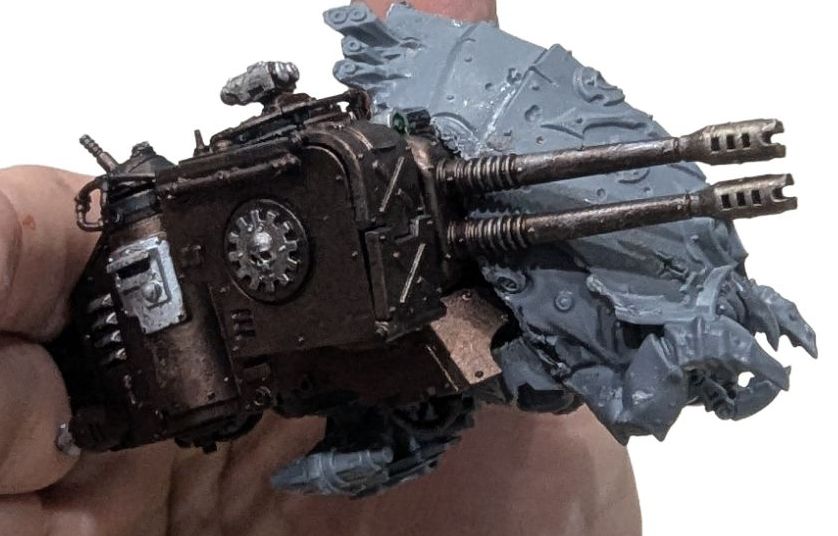
For the scourge arm I luckily had a friend who had a spare Hellbrute part which I thought would work wellI, and I combined it with leftovers from the Blight Hauler to act as an armour plate. I was also blessed to have a friend who plays Sisters, who kindly gave me a left over battle cannon which I was able to attach to the left over hauler melta socket.
For maximum flexibilty I magnetised the hull so it could be seperated from the legs and the Soul Grinder body attached. This also turned out to be a great idea for transporting the model, which is inherently massive and awkward!
What you need:
- Defiler or Soul Grinder kit
- Dunecrawler model or hull – autocannons /missile launcher option seems best if available
- Hellbrute scourge arm
- Blight Hauler model
- Left over battle cannon
- Green stuff
- Glue
Step 1 – Build the Defiler legs
Keep it simple and build the defiler bottom half. If you want to magnetise (step 4) then don’t stick down the small part that joins the legs to the hull just yet.
Step 2 – Chop up the Blight Hauler and combine.
This is a bit of trial and error. Because we need more than just the front plate I built the hauler then chopped it.

I tried to line up the dunecrawler hull front angle and draw it onto the blight hauler face for a roughe cutting guide.
Using a dremel I chopped the hauler, leaving one of the weapon mounts for later (I kept left because of dunecrawler weapons), and also cutting an angle to leave the belly which hooks under the front of the crawler face.

After some trial and error go ahead and green stuff / glue the hauler face to the front of the dunecrawler.

To get a better fit I filed off the details on the dunecrawler viewing slot so I could get the new parts lined up better.
Step 3 – Magnetise the legs and hull/body options
You can technically do this whenever.
Stick the small part mentioned in step 1 to the dunecrawler hull underside.

Flip the Dunecrawler over and you will see the small circular indent where it is supposed to connect to its own legs.
Mine had snapped parts remaining from disassembly so I used the Dremel to smooth out a suitable gap. Offer up the defiler parts that connects the legs to the hull and stick it down when happy. If you overdo it then greenstuff as needed.
Replicate on the part you stuck onto the dunecrawler, central hole, add a magnet and let dry.

Next take your drill or Dremel and make a central hole onto the defiler legs where the part will join. Stick a magnet in the hole with glue or greenstuff.

Hopefully you are all aligned and good to go! This will enable you easy storage and also to add a soul grinder body later if you want the option.
Step 4 – Battle cannon inbound…
Remember when we chopped up the hauler face I said to leave one of the weapon fixtures? Well now you should be able to use that to add a battle cannon.
I was lucky to be gifted a tank cannon barrel from a Sister if Battle set but you could use anything you can find of other tanks (or a biro or whatever)
To get this part to fit I removed the internal fittings with the Dremel and used green stuff to fill gaps and secure.
Ignore the primer continuity I had to go back after for the picture!
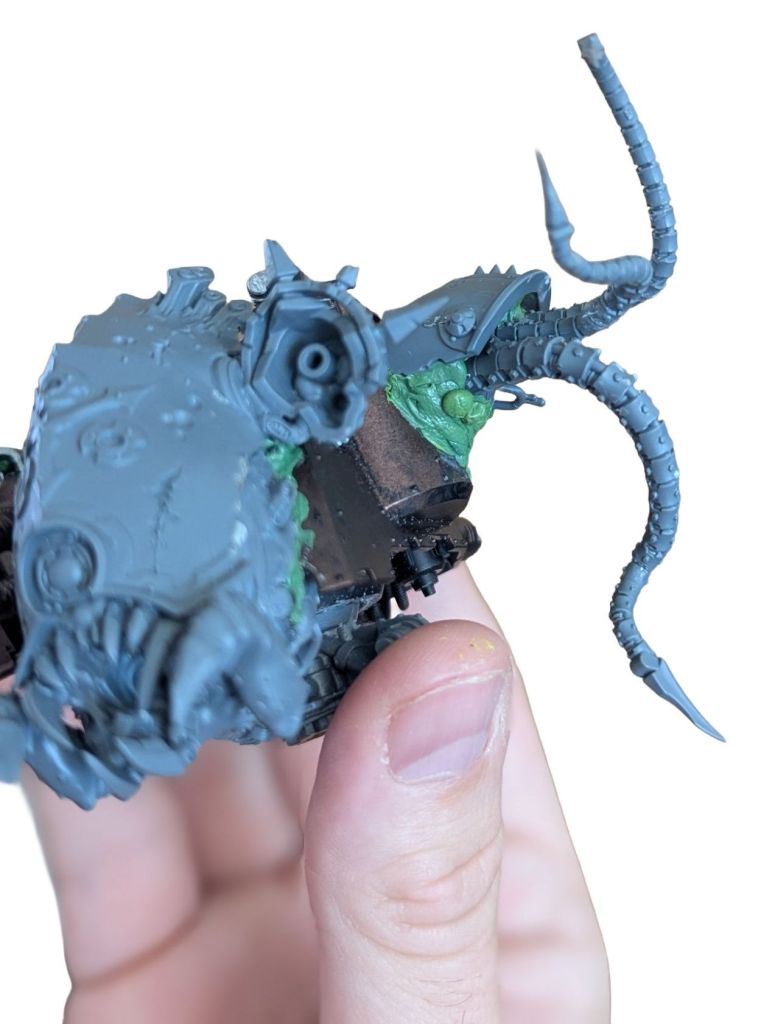
Step 5 – Attaching the power scourge
This was also a bit of a fiddle.
I decided to add this on the left hand side of the model.
I sanded back some of the ladder detail to make a smooth surface to join the scourge onto. To get the angle right I also had to chop the join at the base of the scourge.
To hide some of the messy chopping I took one of the armour plates left over from the hauler legs/wheel section and chopped it down and added with greenstuff.
Summary
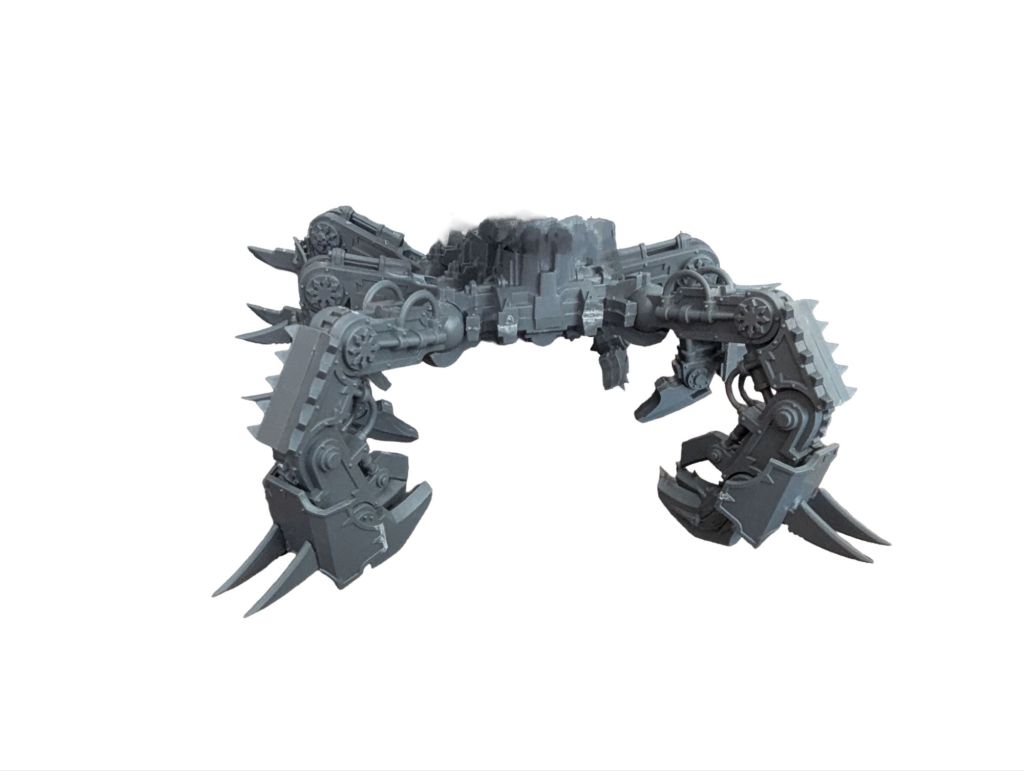
I was really happy with how this came out in the end. It wasn’t perfect by any means and I think I was given some luck from the kitbash gods on the cuts.
The fact it sort of ended up looking like a crazy crab made it for me. Factoring in some flexibility with magnets also let’s me use the model as a Soul Grinder in the future and makes it much easy to store or travel to games.
Hope you guys like this one! Appreciate any feedback.


Leave a comment